This is going to be a quick one...lots to do today, Carter will be awake at any moment and we've got some preppin' for Valentine's Day to get started on.
You have no idea how happy all of these hearts make me.
Anyways, just thought I'd pass along the easiest (and cheapest) DIY lamp shade idea ever. I just finished it the other day and it took me less than an hour to do it.
*(To see the other lamp shade that I covered for Carter's room click here).
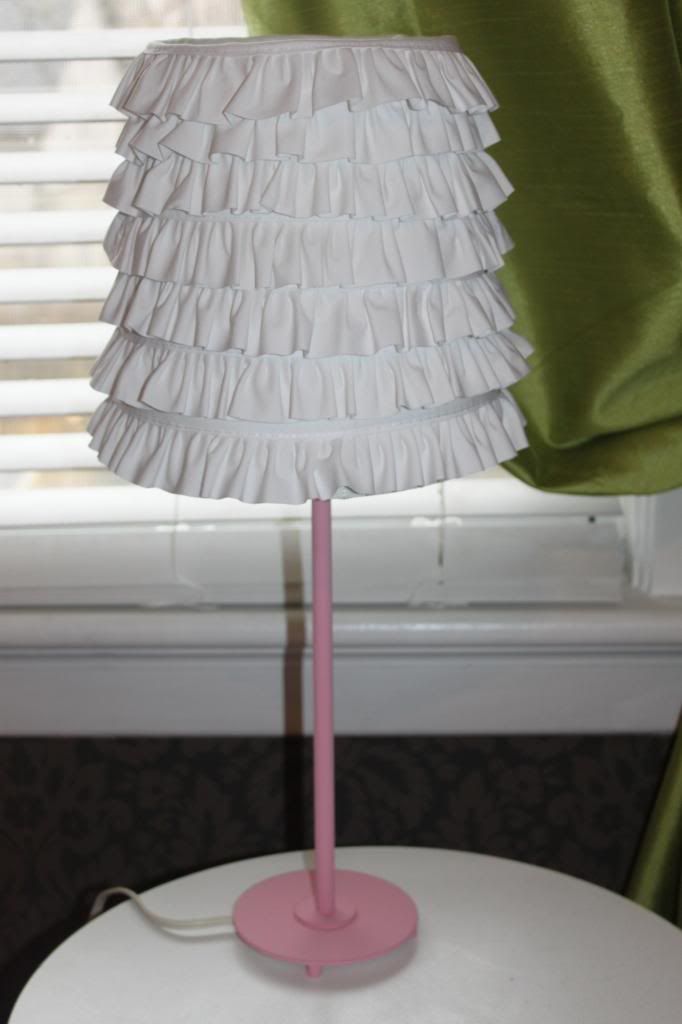
How cute is this one though?
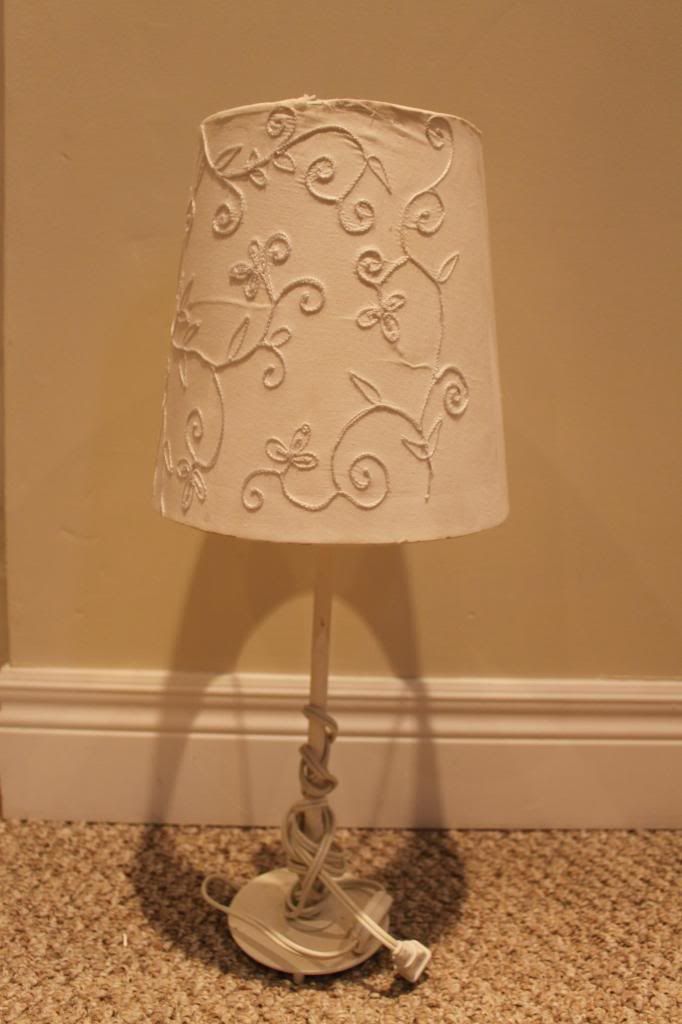
*(To see the other lamp shade that I covered for Carter's room click here).
How cute is this one though?
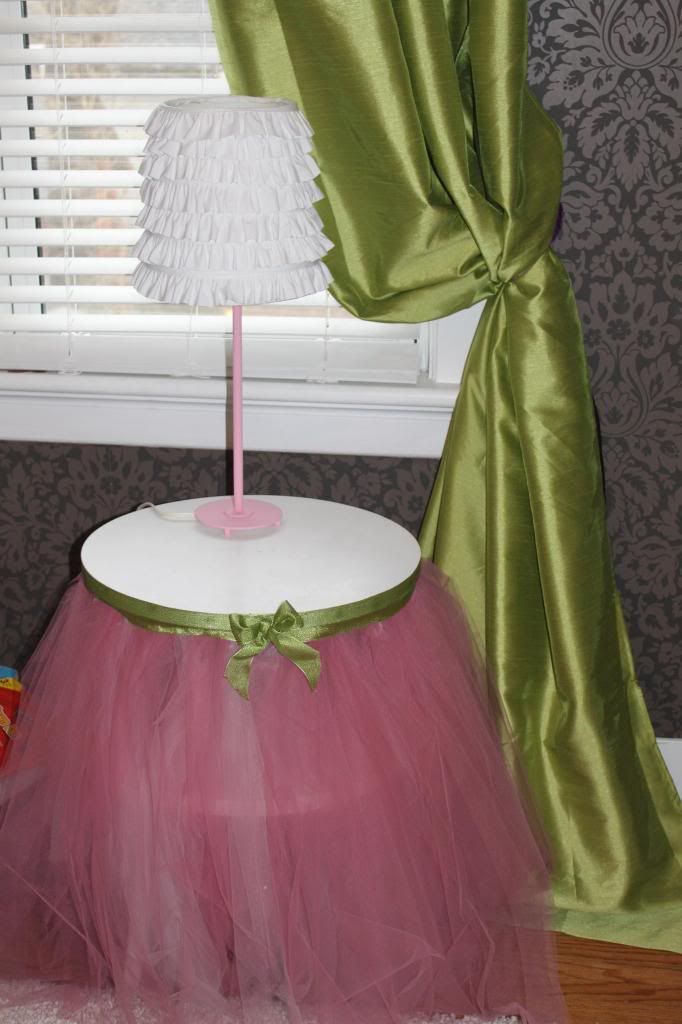
*(To see how I made Mya's tutu side table, click here).
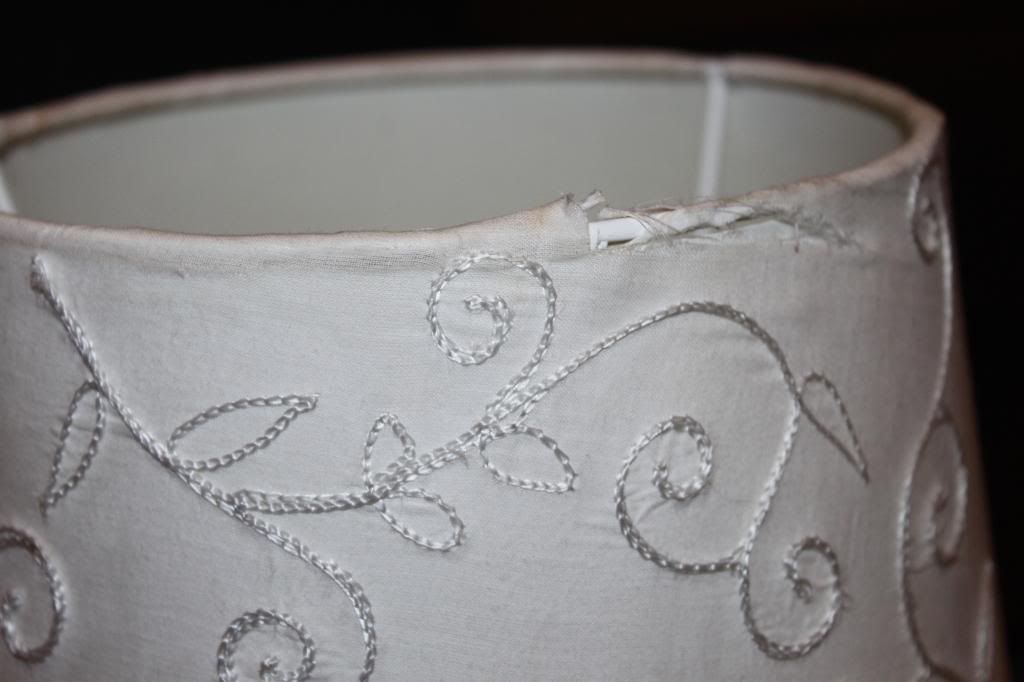
As I was taking the kids out for a walk one day I ran into a woman who was walking out of her house with this lamp, about to put it on the curb. In my cheap crafty little mind, I instantly thought SCORE. I asked her if it still worked, and she said "Yup, but the lamp shade is all busted up".
Perfect. I'll take it.
So I headed home and showed Terry my new treasure.
He laughed when he saw it. "You don't ever stop, do you?" he said as he examined my busted up garbage find.
"Don't mess with my crafting, buddy. I've got visions for this little lamp".
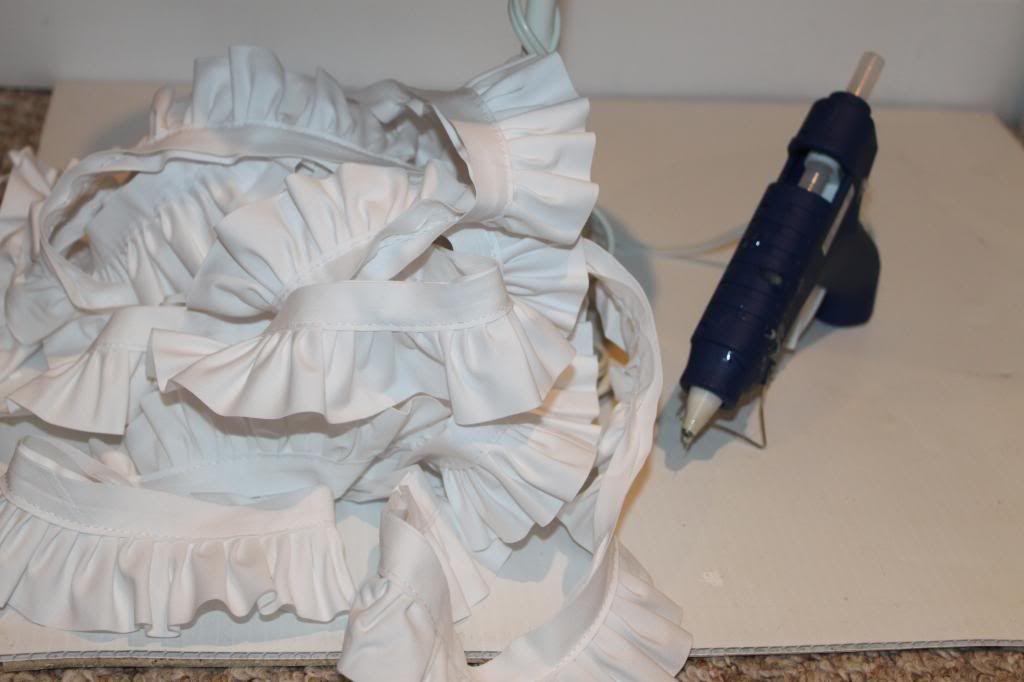
So after a quick trip to the fabric store, I came home with a couple yards of this ruffled material and got to work.
**Disclaimer: That sounds easier than it actually was. It actually took me an entire week to figure out a time for me to go to the fabric store sans children, then it took another night of strategically planning and prepping for me to be able to have a good hour of alone time in between feedings when Terry was home at night to look after Carter and when Mya was down for the night.
Anyways, once I got started it really only took about 45mins to finish (if that). Here is how I did it:
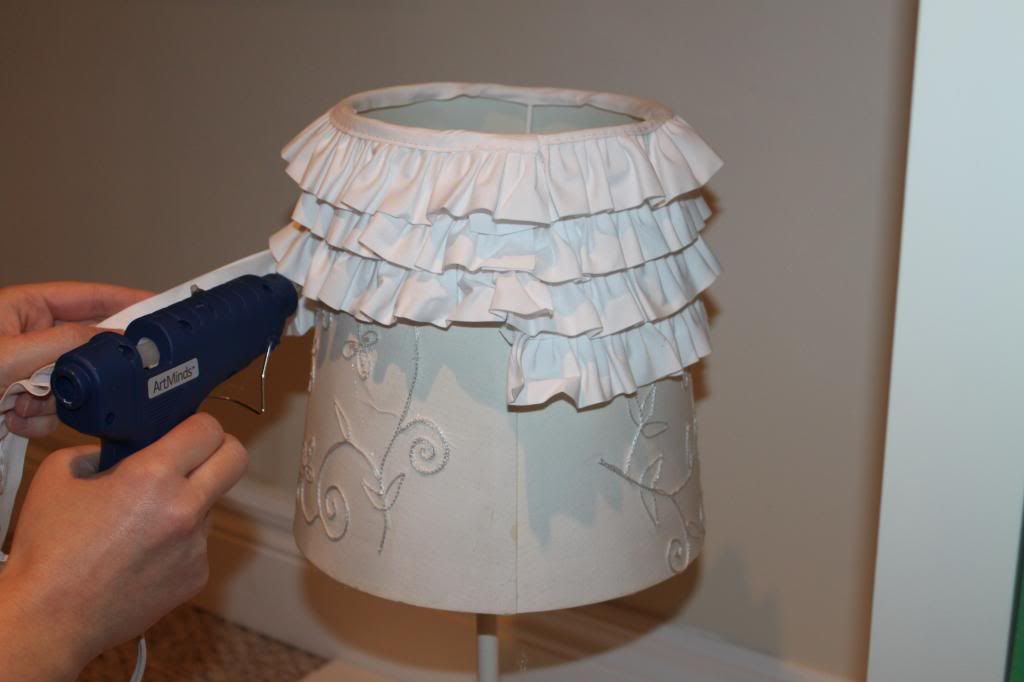
1) Heat up your glue gun and start at the top of the lamp shade.
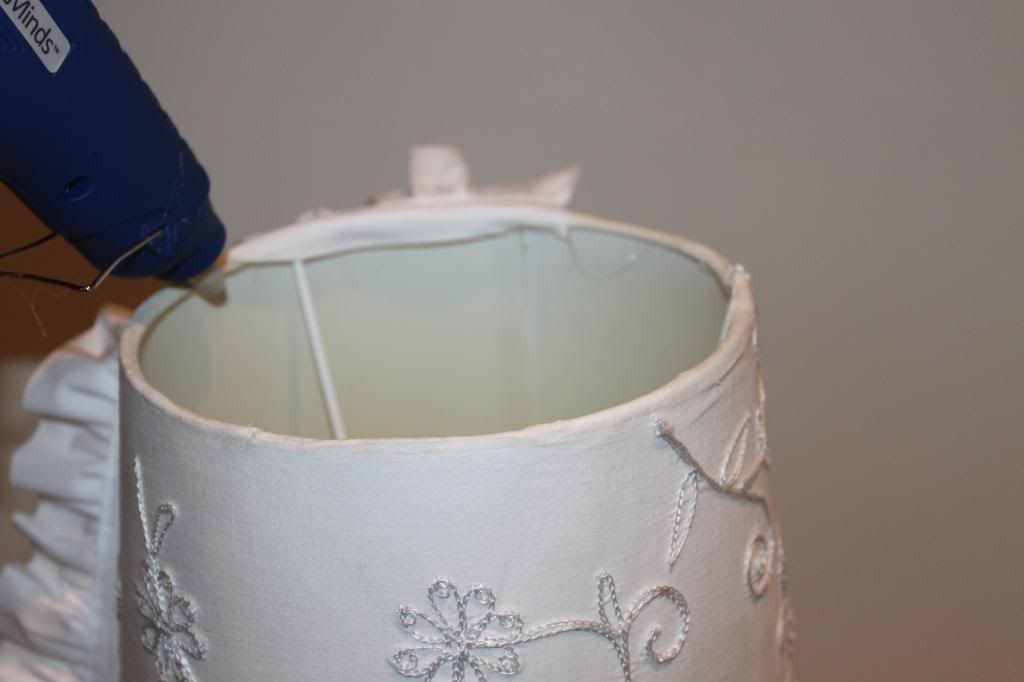
2) Place a couple dabs of glue along the rim of the shade and stick your ruffled fabric securely down.
3) Keep adding more glue to the edges, while pressing down your fabric until you complete a full circle. Cut your fabric and start again by wrapping your fabric around
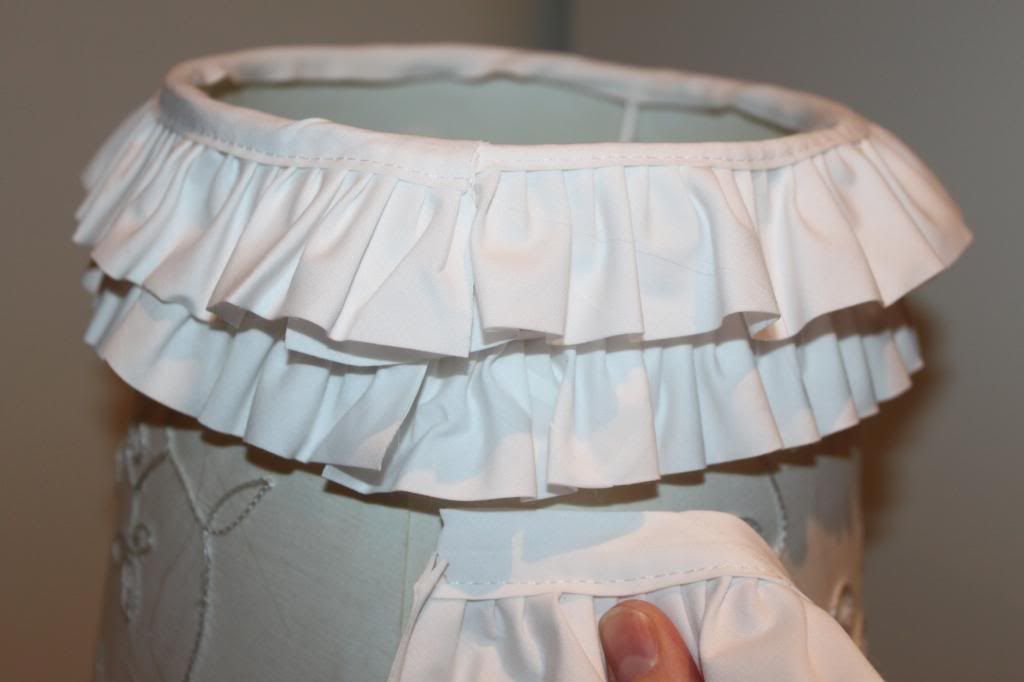
4) Keep going around the lamp shade with your fabric until you've reached the bottom.

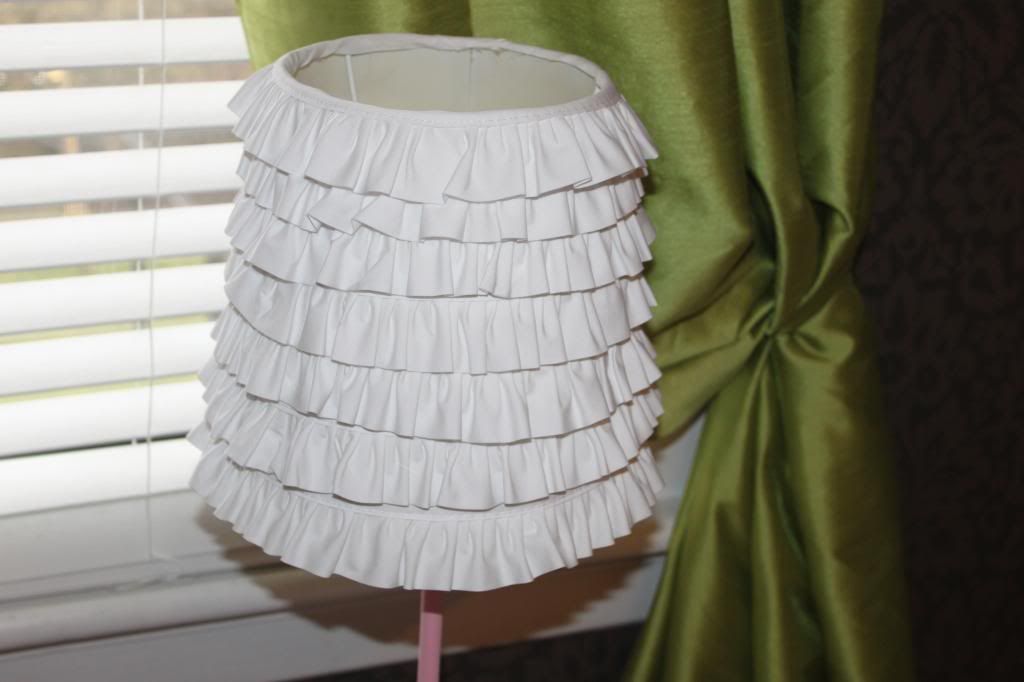
Voila!
I painted the rest of the lamp with the same left-over pink paint that I used when I made Mya's wooden name letters.
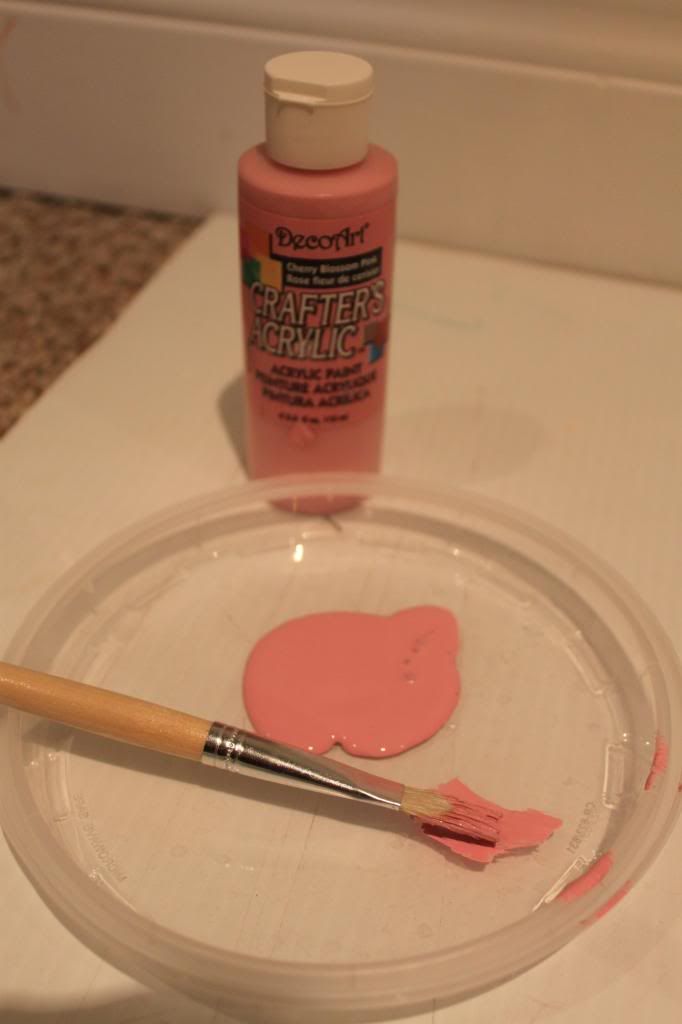
This entire lamp cost me a total of $6 and it's so darn cute.
Happy crafting!
Happy crafting!

No comments:
Post a Comment